Director Notes
Written by: Hooded Pitohui (talk)
October arrives like the whispers of a spirit on the wind, only to disappear just as quickly... or something like that. I don't quite know how to get you in the spooky mood this month, but, I can provide give you the Mario Kart and Fire Emblem tricks that Koops and Yoshi876 have prepared for you. If you'd rather a treat, why not indulge on the rich information on Pokémon, F-Zero, and Kirby in our other sections?
I don't have much to announce this month. As you can likely see, it's just our usual slate of sections this month. Unfortunately, I do have to report that we received no entries in the second portion of our Super Mario Maker 2 contest, so you won't find it featured in this month's issue. That said, we still had some wonderful folks who contributed levels and there's still four specially-crafted levels for you to challenge your skills with. You can always go back and give them a try.
There's no need to dwell on the past, though, when there's so much to focus on as we close out the year Don't forget to check in on Mach Speed Mayhem's forum thread to cast your vote for who Superchao will cover next. And, of course, if you like Strategy Wing, consider signing up to write for the team. While you start thinking about what section you might want to contribute to the team, go on ahead and check out what our writers have prepared for you this month.
Section of the Month
Well, I'm pleased to see both an increase in vote totals last month and the mix of new writers and departing writers on this table this month. Congratulations to Meta Knight (talk) for taking third with his final guide to finding the Copy Essence Deluxe. While we say goodbye to Meta Knight, you all will have more sections like the guide to Fire Emblem: Blazing Sword Mankoops (talk) provides and the look at Kirby's Inhale ability that ArchagentEverlasting (talk) gave us in the coming months.
| STRATEGY WING SECTION OF THE MONTH | ||||
|---|---|---|---|---|
| Place | Section | Votes | % | Writer |
| 1st | The Anatomy of a Kirby | 6 | 31.58 | ArchagentEverlasting |
| 2nd | Koops, Your Emblem is on Fire | 4 | 21.05 | ManKoops |
| 2nd | Meta Knight's Dream Land Jorunal | 4 | 21.05 | Meta Knight |
Should you use Mario Kart 8's Bowser's Castle staff kart, or stick with the Clown Car?
[read more]
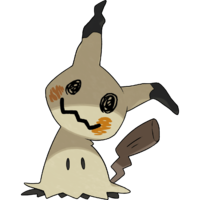
Do you dare to lift the cloak and take a peek at Mimikyu's Pokédex entries?
[read more]
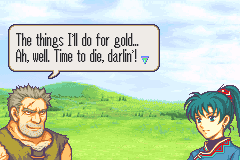
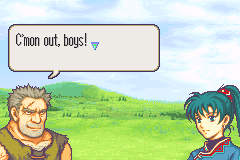
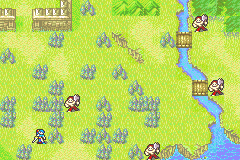
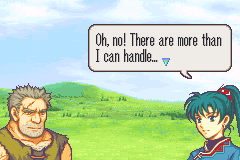
Koops, Your Emblem is on Fire
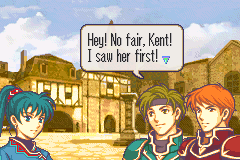
I Kent believe it, this guy's in-Sain.
Hey boiz and grills! Welcome back to my walkthrough of Fire Emblem: Blazing Sword! Last time, I took it upon myself to accompany Lyn on her quest... To become my peerless warrior! Quite an undertaking, if you ask me, but Lyn is a good student! She'll learn quick! She already took down her first bandits! ... sniff... they grow up so fast!
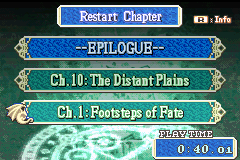
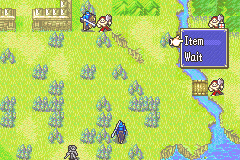
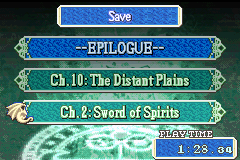
As you can see, I now have different files. The one the cursor is pointing is the walkthrough file, but those two files up there are interesting. The —EPILOGUE— file is just a quick playthrough I have done myself in the span of less than a month, using characters I never used before. Quite an interesting playthrough. It even changed one component of my main team, so yeah, you'll actually see results of that as soon as next issue. The middle file though...
I made it for the purpose of this very walkthrough. You'll see why when we get to there... chapter 10.
Anyway, let us continue our adventure!
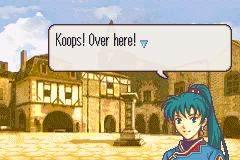
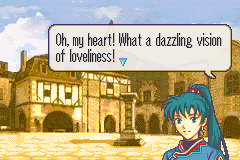
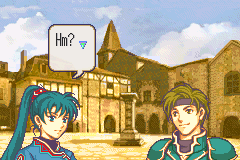
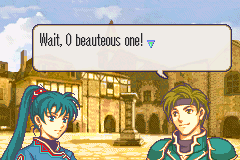
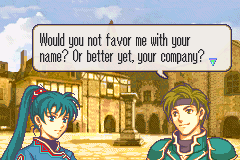
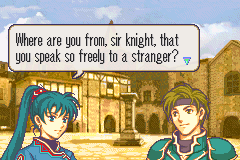
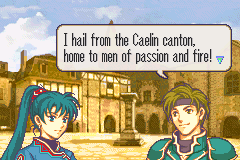
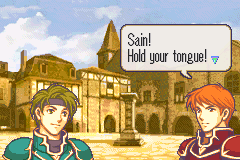
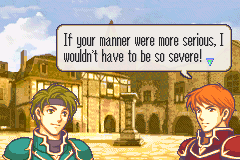
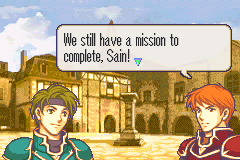
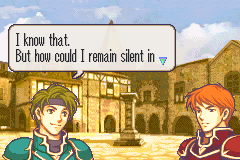
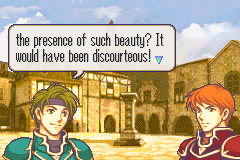
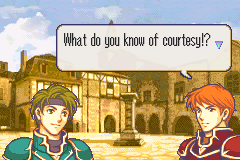
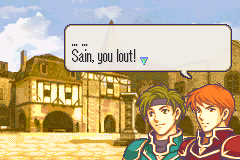
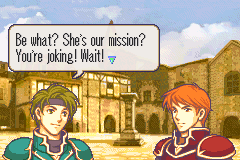
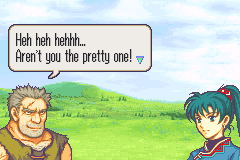
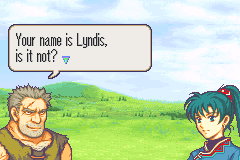
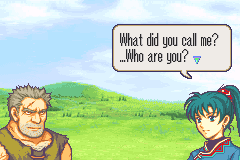
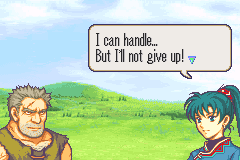
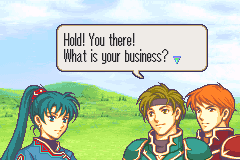
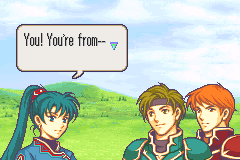
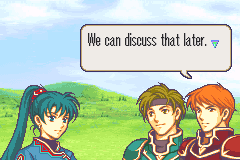
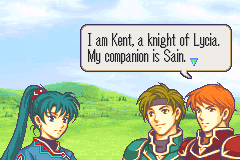
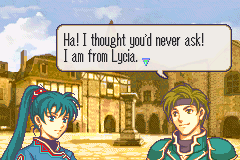 Wow. Expecting to get someone's name without expecting getting asked your own name in return. You, sir. Are a social expert, I can tell.
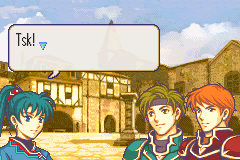
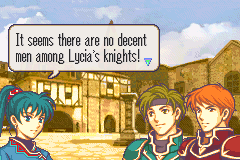
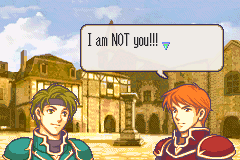
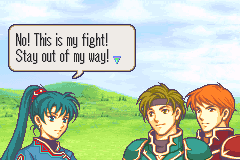
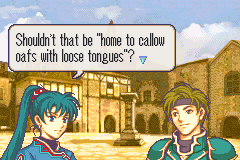 Lyn just happens to be more of a man of Fire than you are, Sain. And she's a woman. And I screenshot that at the right time.
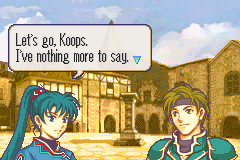
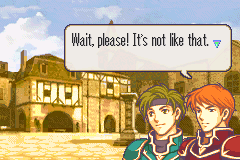
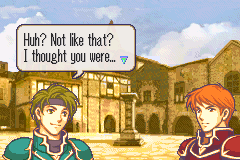
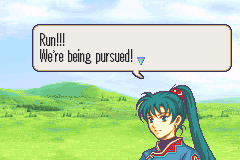
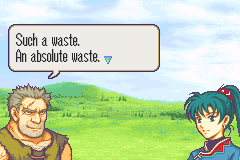
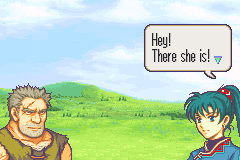
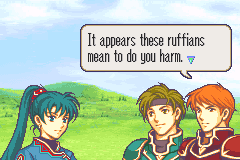
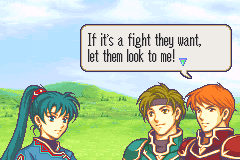
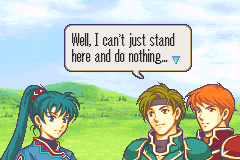
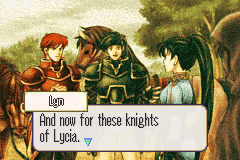
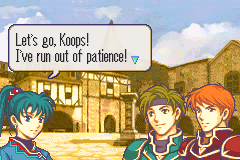 Oh, god, you don't want to anger her! She just killed some bandits, and if she needs to kill two knights to get her way... she'll do it! I'm warning you!
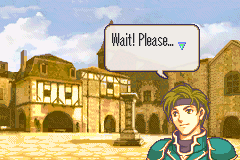
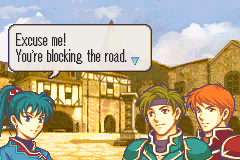
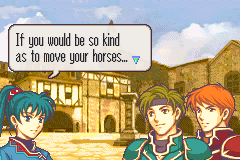
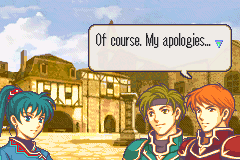
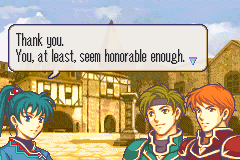
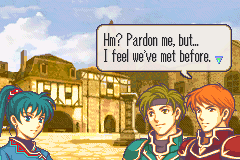
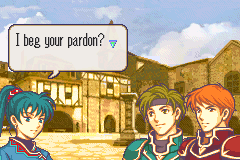
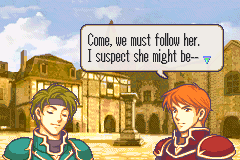
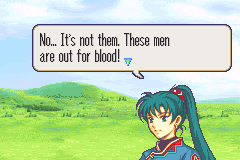
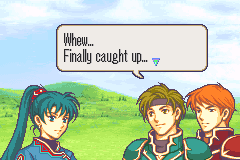
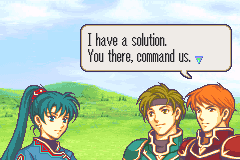
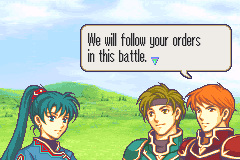
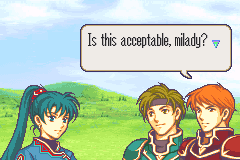
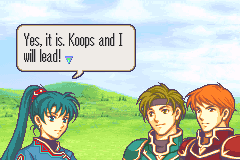
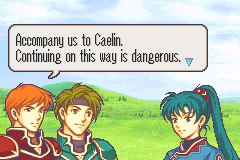
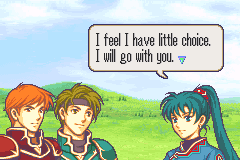
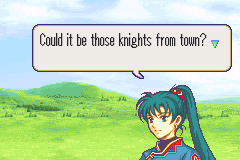 You know, as romantically aggressive as Sain was back there, I doubt he'd cause us to run like this. And Kent looks like a nice boy.
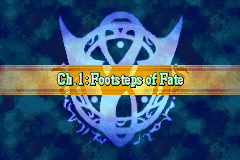
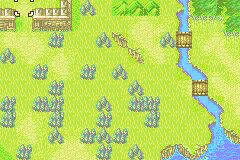
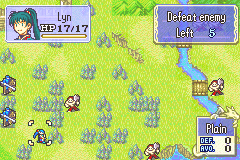
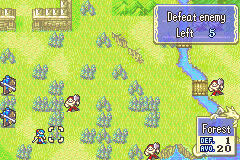
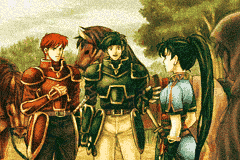
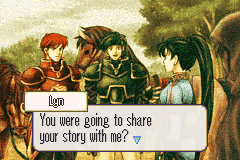
And here we are! Chapter 1! This map is less basic than the Prologue Map, but it still is simple. But first, let's address the elephant... I mean... two horses in the room!
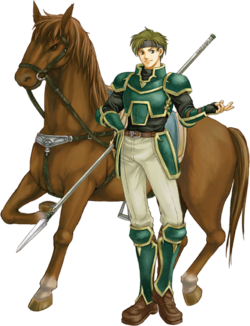
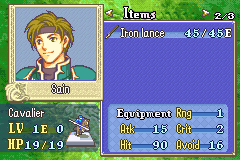
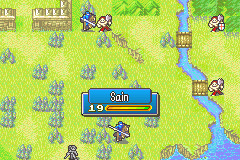
We now can call upon the power of Sain! A knight in service to house Caelin. A bit of a scoundrel.
Sain is a Level 1 Cavalier, Cavalier being the basic horse-mounted class! They have more movements than foot units, more rescuing capabilities, the ability to use leftover movement after certain actions, and to top it all off, can use both swords and lances! Truly an amazing class, especially in the early-game! Their stats are usually well-rounded, with a balance of Strength, Skill, Speed and Defense! Sain specializes a bit more in raw power though. I mean seriously, 8 strength is pretty high for just Chapter 1! Although 6 speed is a bit low, so he'll struggle to double enemies at first. He also has respectable Defense, but his speed problems may actually hinder him later on. However, raw damage is always appreciated, and if his strength goes high enough, you won't even need to double!
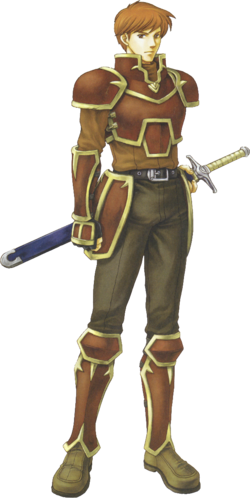
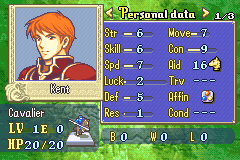
But we also have another character! Everyone, say hi to Kent! A knight in service to house Caelin. Virtuous to a fault!
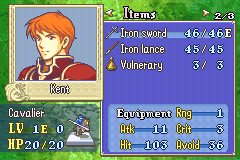
Kent is another Cavalier, just like Sain, who starts at level 1. Unlike Sain, though, his strong points are different. Kent has less strength than Sain, so he won't do as much damage than his loony companion. But he starts his better speed, and a pretty decent speed growth. Kent is basically a weaker version of Sain who however consistently doubles, and doubling actually helps you get kills more easily, and as such, Kent may be a bit easier to use and turn into a killing machine. Kent also has better Skill, so he'll hit enemies more often. Wether you want to use one or the other though, just stick to the one you prefer, because they're both amazing later on. Fun fact, Kent was the one I used in my first playthrough! But there's also no reason not to use both! No hidden rule about using two of the same class, especially when that class in question is amazing.
Trivia Time! Kent and Sain are cavaliers, one with Red armor, the other is encased in Green. Some characters are part of an archetype of characters who appear throughout the series consistently. Kent and Sain are the "Cain and Abel" of this game, Cain and Abel being the two red-green cavaliers who fought alongside Marth in the first game! It's nice to see what each pair has to offer. And if you know me, you know I am particularly fond of the red cavalier from the next game! But it'll be a while till we get there!
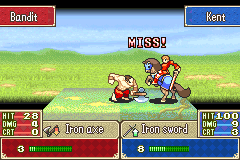
Anyway, Kent comes with an Iron Sword and an Iron Lance! That sword is good for Bandits! Now let's see what Sain has!
Oh...
Yeah... Um... I can explain that. In Lyn Normal mode, the tutorial version of the chapter focuses on making fun of how Sain keeps missing his targets because of this lance. And that brings us to the Weapon Triangle!
The Weapon Triangle is as such: Swords beat Axes,
Axes destroy Lances,
And Lances rule Swords.
At weapon triangle advantage, you get +1 Damage and +15% hit on your enemy, but that also applies to him! If he has Weapon Triangle advantage, he gets those bonuses... and you get maluses! Those bonuses will be subtracted if you are at a disadvantage! But this buffoon here brought a Lance to fight Bandits! We're gonna fix that, though.
Wait! See those "Forest" tiles? They provide 20% evasion and 1 extra defense point! Helpful to take on enemies! Don't let them take advantage though!
Well, let us try one of our new allies, what do you say?
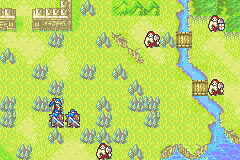
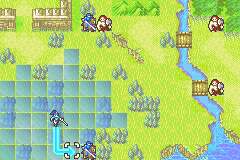
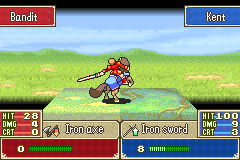
Kent and Sain are not as fast as Lyn though, so they get hit more often, but that's ok because they take less damage! Sadly, Kent couldn't reach the forest adjacent to the bandit, because forests come... with movement costs! Movement costs that are actually more severe on horse-mounted classes! My only option for Kent was to attack from outside the forest.
But how about we equip Sain properly? Well, here's what we can do!
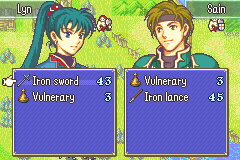
Move Sain close to Kent. Oh! The Trade option just appeared! And as such, we can make Kent give his Sword to Sain. Doing this back and forth to train the two will be annoying, but thankfully we'll have a better solution in not much time. Whatever, let's finish with Lyn. Sain is not able to Trade and attack in the same turn.
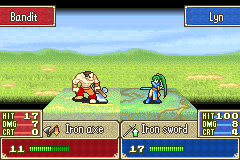
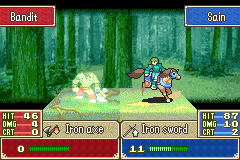
And look at how helpful the forest is being! Only 17% chance to hit Lyn for this big guy! And we have the weapon triangle advantage, which makes it even more ridiculous than it should be.
Hey guys, let's see how long Lyn can keep dodging until she gets hit!
Enemy phase time... and nothing productive. They just got a bit closer. A bit closer to death.
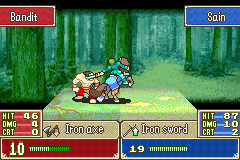
Ok. So this Bandit just got into this forest. So even with a Sword, Sain still has a pretty existent chance to miss, here.
But he hit!
I wanna get Kent a kill, so let's give him Lyn's sword for the moment. A peerless warrior knows how to be patient!
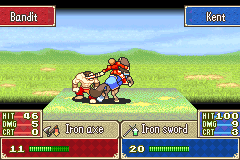
We'll place him in that forest next to Lyn's portrait so that the Bandit has to be outside the forest to attack! Placing your unit so that enemies get countered is an optimal way of playing the game. You wanna maximize enemy deaths every turn. Of course, we're still at a point where we can't exactly kill people this easily, so now, we're still in the "feeding phase".
Enemy Phase!
A kill for Sain! Only took two hits! But he's lost almost half his HP in return. But, now that we learned that trading exists, we can remedy that!
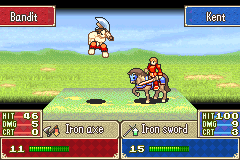
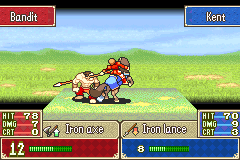
Oops. I forgot to actually equip the sword on Kent. My bad. He took 7 damage to the face because of that, when he would only take 5 if he had a sword. At least my goof will serve as a good example of why you should always equip the right weapons. And hey, at least he hit with that 70%!
Player Phase!
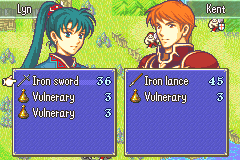
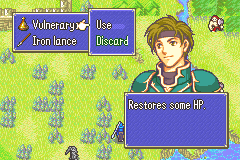
Ok, we better heal Sain, but he has no vulneraries! But, remember Lyn had two last chapter? Well, the scripted tutorial for this chapter had Sain miss so many times that he actually needed to get healed. Lyn offers him a vulnerary! Let's do that here now!
But give me back my sword!
Let's use the vulnerary!
Meanwhile, let's have Kent attack with a Sword from the forest!
Ouch... if the Bandit somehow hits him twice, Kent might die... it's such a small chance that I'm taking the risk anyway! Kids, don't do this at home!
Good. I'm safe.
Enemy Phase!
Kent's first kill! On par with Sain, now! All that is left now is two enemies! But let's just fast forward to the boss, who actually doesn't move so we can do whatever we want!
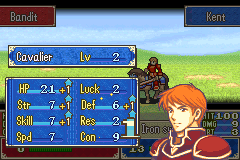
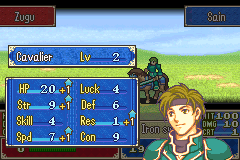
Kent just got a level-up on the way! Let's see what it looks like!
That's great, but I'd appreciate some speed. The sooner Kent starts doubling, the sooner things start dying!
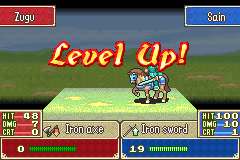
We're back, mutuals! And here I just initiated the boss battle with Sain!
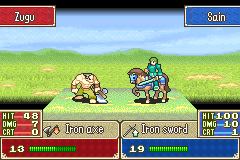
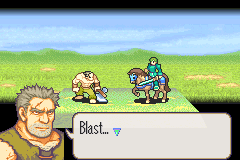
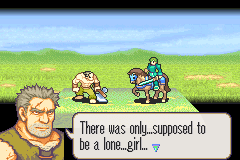
Sain hits for 10 damage, Zugu misses! Oh wait, I forgot to talk about the boss!
He's just a slightly stronger Batta. NEXT!
I'm giving the kill to Sain because he hasn't leveled up yet. Let's kill this idiot.
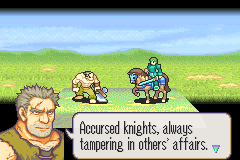
"Cowards, every one of you!"
Ironically, Sain's the one who got speed. His stats are actually overall better than Kent now, despite the latter's almost perfect level-up, but don't worry. Kent will grow to be a great unit!
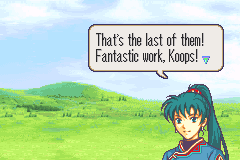
Now that everyone is dead, we've won the map!
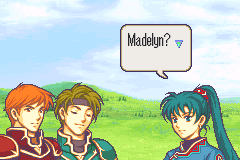 You know what, characters blinking as I take the screenshots will make this walkthrough more lively!
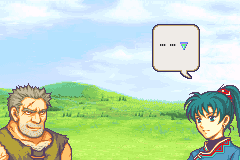
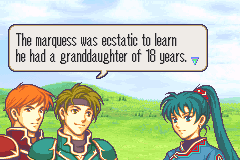
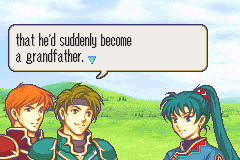
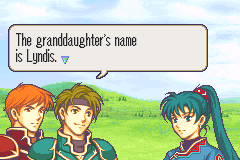
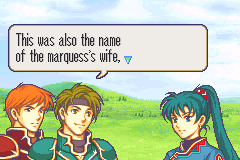
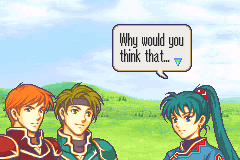
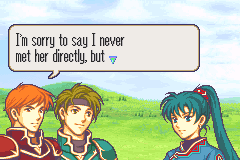
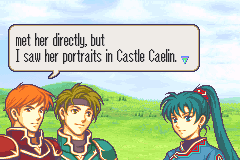
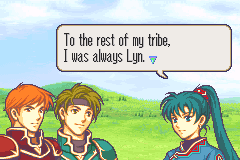
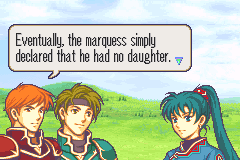 But wasn't she around for some time anyway, didn't the public already know she existed? Oh well. Sheep gotta follow the shepherd.
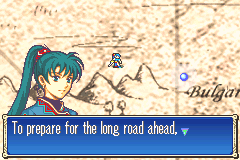
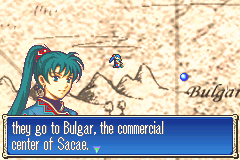
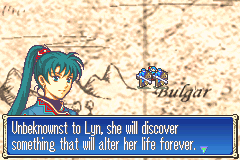
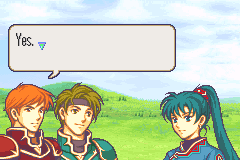
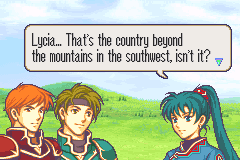
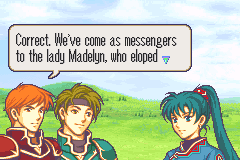
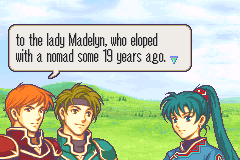
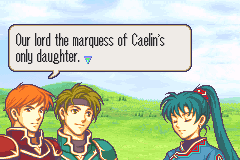
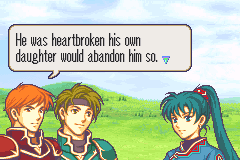
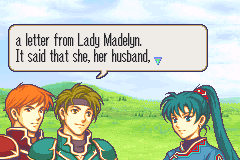
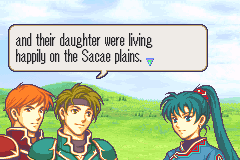
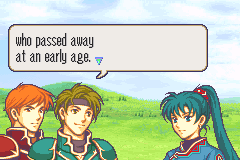
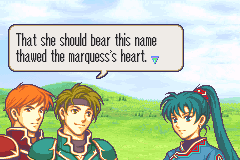
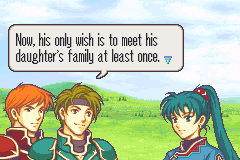
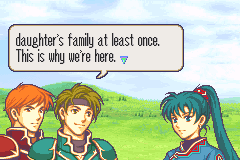
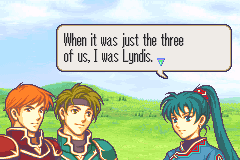
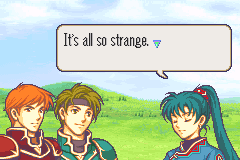
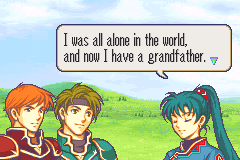
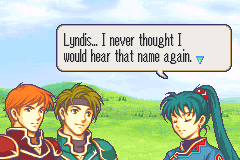
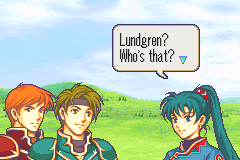
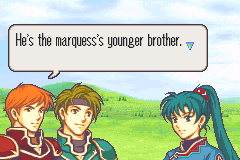
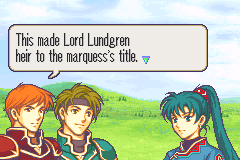
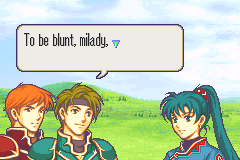
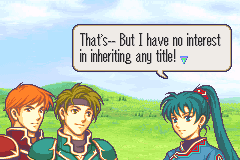
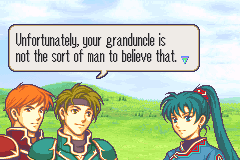
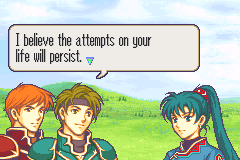
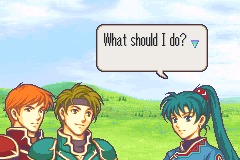
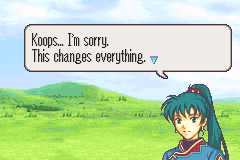
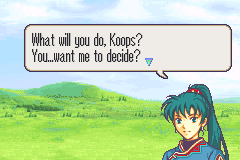
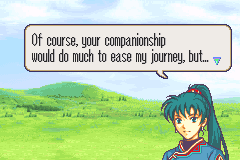
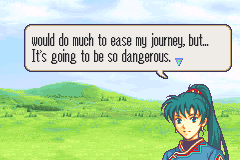
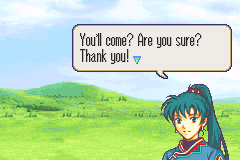
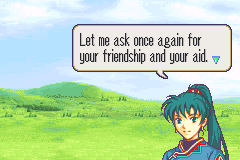
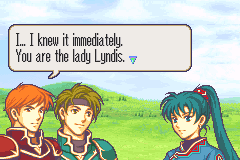 WHHHHHAAAAAAT?! Didn't see that coming! Yeah, when I said that Lyn did actually have noble ties beyond just being the Lorca Chieftain’s daughter, that's what I meant.
Well... um... with that... that does it for this issue! I had a lot of fun making this section. Join me next time for more Fire Emblem: Blazing Sword!
Racing Like the Staff
Hello readers and welcome to Racing like the Staff, a section where I do 150cc on different Mario Kart games, but the twist is, I take on the Grand Prix by using the combination that a staff and expert staff member used in that Cup. If you're still a little confused, by this I mean if the track is in the Mushroom Cup, then that's the Cup that I race in. Unfortunately, I don't have copies of the Mario Kart games before Mario Kart 7, so it's only that, 8 and Deluxe that will be getting this treatment.
We're feeling a little bit spooky at the moment, given how it's Halloween month, and yet I will be avoiding the obvious choice of Twisted Mansion. I covered it once on one of these sections, best to leave it for a little bit. I will instead be looking at Bowser's Castle, which with golems, lasers and lots of fire, I'm sure we can all agree is pretty scary. If not, perhaps my driving skills will be.
The combination for normal staff for Bowser's Castle is Bowser with the Badwagon, Normal tyres and Super Glider, and the stats are as follows:
- Speed – Just under five bars
- Acceleration – One and a half bars
- Weight – Just over five bars
- Handling – Just under two bars
- Grip – Just under four bars
Cloudtop Cruise
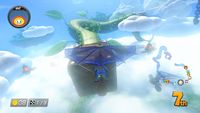
The speed was absolutely dominating here. I overtook Mario and Baby Mario for second place just before the first set of Item Boxes, was ahead of Luigi for the jump just before the airship section, and they were eating my dust for the rest of the race with no challenge.
Bone-Dry Dunes
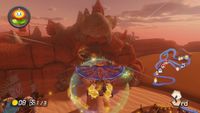
This wasn't the race I was hoping for. Mario got ahead of me, and although I managed to slipstream around him, the poor handling threw me into a wall allowing him around me. Likewise, after the gliding section I turned into a wall, allowing both Pink Gold Peach and Luigi past. I managed to pass Pink Gold Peach before the finish line, and got Mario and Luigi in one corner, but then the same happened with some driving into walls, allowing Luigi and Baby Mario past. I failed to get ahead of them, and took the non-anti-gravity section in, despite falling to fifth place. However, at the exit of the cage, I was up to second, and a despite getting hit by a Lightning Bolt, my speed meant I overtook Luigi barely cms from the line.
Bowser's Castle
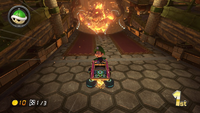
The home track was not kind to me. Baby Mario got ahead at the start, and low battery on the GamePad forced me to quickly pause and plug it in, and lose a bit of momentum. Hitting the Firebars allowed Mario and Luigi past, and I somehow got flattened by the fist. Things got from bad to worse, as Roy and Metal Mario overtook, although I soon past them. Spearing into another wall in the anti-gravity part didn't help, and at one point I'd fallen all the way down to ninth. Some overtakes, and possible luck, and a strange incident of Baby Rosalina nearly overtaking me on speed alone happened, and eventually I managed to finish the race down in fifth place.
Rainbow Road
Everything was going well until the final lap. Although Baby Mario out sped me at the start, I was able to be ahead by the second lap. Baby Mario and Mario managed some overtakes, but I got them as we glided into the space station. Somehow, Mario managed to out speed me on a straight, with no Mushrooms, but he crashed into my Green Shell. I then fell to fourth after a Blue Shell, and after falling off the track in a style where I had no idea where I was, I finished the race down in eighth.
For the first time in this section, I didn't win the cup, with Mario beating me to it by five points. In fact, I finished joint second with Luigi. Everything seemed great on Cloudtop Cruise, but it fell away over there from a lack of handling on the Kart. Corners I could usually take were near impossible this time without crashing into the wall, or in the case of Rainbow Road. I am still baffled by how some racers managed to draw level with me at a much lower speed, but for now I can't recommend this combination for Special Cup. Perhaps on Shell Cup with a lot less corners it might be better.
The Kart of Champions combination is Wario with the Sport Bike, Slick tyres and Parafoil. The stats are as follows:
- Speed – Just over five bars
- Acceleration – Just under three bars
- Weight – Four and a half bars
- Handling – Three bars
- Grip – One bar
Cloudtop Cruise
Much like last time, by the first set of Item Boxes I was up into second place, and was overtaking Baby Luigi by the second set. Baby Luigi briefly got ahead from me hitting a wall, but I overtook him in the anti-gravity section and saw no-one for the rest of the race.
Bone-Dry Dunes
What a difference a combination makes. Although Baby Luigi was able to get ahead at the start, I soon overtook him; and I would've kept that lead if he hadn't hit me with the Red Shell he got from the Item Box. This also allowed Mario to get ahead, but I soon overtook under Dry Bowser's claws, and overtook Baby Luigi flying into the cave. And unlike with the Badwagon, I was able to keep everything under control and not drive into the wall. And from there, despite being hit by a Bone Piranha on the final lap, I was able to easily keep the lead.
Bowser's Castle
A combination really can change everything. Baby Daisy overtook me at the start, and despite overtaking her just before the first anti-gravity section, I was sideswiped by a Green Shell. This allowed both her and Baby Luigi past me, but I got them just before the section with the Bowser golem. And unlike the Badwagon, the walls were no threat to me, and despite being hit by a Blue Shell, I was able to retain my lead until the end.
Rainbow Road
I hoped this would be my race, and it looked like it could be, as I led Mario after the second gliding section. I managed to dodge his Banana, but Baby Luigi hit me with a Red Shell while gliding, dropped me to fourth. I was soon able to get back into the lead, but a Blue Shell, Banana and Green Shell saw me finish this race down in sixth position. Guess, I'll need to wait for later to get that three-star rating on the Special Cup.
Although I dominated more with Bowser last time I used a similar combination, this combination is still really ace and I recommend it to everyone. Had items been on my side, I think I could've easily won Rainbow Road using it.
I hope you enjoyed this section, and I'll see you next month where I'll take a look at a combination hopefully from Mario Kart 8 Deluxe. If you've got a combination you'd like me to review next, feel free to private message me on the forums.
Mach Speed Mayhem
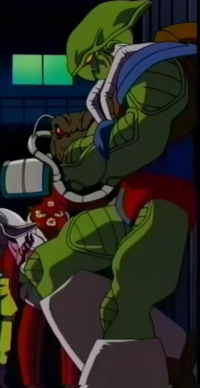
Hello, 'Shroom readers! Welcome back to Mach Speed Mayhem, where I already used a Whose Line joke for the intro but nothing else is coming to mind! This month, we're going all the way back to the starting days of F-Zero. Debuting as one of the only four racers/five characters in the SNES F-Zero, it's #06: Pico! The hitman who flies at the speed of sound!
Main Series
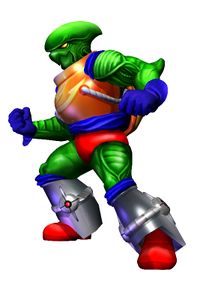
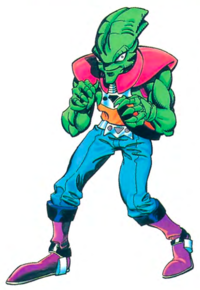
Making his debut in F-Zero for the SNES, Pico is one of only four racers - back then, F-Zero didn't have the massively expansive cast it did today. It was him, Falcon, Goroh, or Stewart! He doesn't make any appearances or get any information in the game itself, since the SNES game only had the cars show up in-game, but the manual talks a bit about him. He's an alien from the planet Death Wind, one of the F-Zero contest venues, and people are pretty sure he was an elite soldier in the Special Fighting Unit of the Poripoto Army, the military force of his tribe. With an aggressive nature and a cold heart, he has no problem driving through and forcing others out of the way and off the track whenever he's on the field... and rumors fly that he's still got an active side business as a hitman. He also appears in a couple panels of the SNES manual comic, where he gleefully admits his desire to see the track littered with the wreckage of his opponents' cars, and declares a hatred for redblooded beings. Rude! Returning in F-Zero X, we don't really get anything new in his short manual biography, but his age is now listed as "123 (or so he says)" when he was listed as 34 in the SNES manual. There obviously wasn't a 90-year timeskip, so which one is a lie? Are they both lies? Who knows.
Naturally, Pico returns for F-Zero GX... and also for F-Zero AX! As one of the original four racers, Pico and his Wild Goose are not only available from the beginning in GX, but he's available as a default playable character in the arcade game - no memory card transfer required, like if you wanted to play any of the X debuts in an AX machine! Instead, you can just pick him from the default lineup of 14 and go if you want to use him in AX. But back to GX; his biography adds that he's got a shop near a military base (and he operates out of the back as an assassin), and that messing with him is a great way to cut your life expectancy very short. Additionally, he's considered by many F-Zero fans to be the one responsible for the Huge Accident we saw mentioned in the Blood Falcon and Deathborn articles, the fans believing that his dangerous driving sparked the disaster. Pico doesn't care, and he just keeps doing what he's doing. As for the interviews! Pico is one of the characters who absolutely terrifies Mr. Zero, leaving the interviewer with knees knocking and shoulders shivering. The poor guy can barely get the words out, so we should all be grateful that he was able to overcome his fear of a killer! And it's pretty justified, considering Pico's attitude. He brags about winning by wrecking others, repeatedly ties F-Zero to the battlefield, and boasts that nobody will survive the next Grand Prix he participates in. He's also very upfront about his other job, ready to carry out some assassinations now that he's won the Grand Prix. Speaking of which, he's actually got a plan to make it all about him - he's going to use the one billion space credits in prize money to create... the Pico Cup!! We also get to learn about his knife collection and his fondness for rare steak. I wonder if any of his knives are steak knives? They do cut veeeery well!
The GX Story Mode features one appearance from Pico, but oh boy is it a painful one. He joins the thirty-car field for Chapter 7, and decides that he'll carry out his hitman duties on the track. Alongside Samurai Goroh and Michael Chain, Pico is a hyperaggressive driver, and being behind him is a complete guarantee that he will spin wildly and try to wreck Captain Falcon. He's one of the biggest dangers on the first lap, as you weave your way to the front of the pack, and you can expect to lose several runs because he tore off over half your lifebar in a single, skillful move. At least he doesn't show up elsewhere in story! Interestingly, though, his Pilot Profile movie for clearing Master Mode features him putting a bullet through the head of a Black Shadow cutout. Perhaps he just considers anyone a potential target?
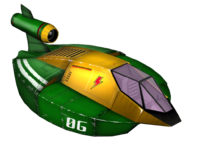
Of course, we gotta talk about his vehicle as well. The Wild Goose's creator is actually inconsistent, though I don't know if that's because of an actual retcon or just different translation - the SNES manual lists it as Sergeant Lipot, while F-Zero GX says it was made by General Repeat. Regardless of the name, however, what is clear is that it was made to be used in the battlefield for the command of Death Window, the elite military unit Pico was in, with the machine designed to withstand the attacks of enemies who might want to eliminate the commander. After the general's retirement, his machine was given to Pico, who overhauled it into a racer instead. Built from the ground up to be a tank, it was designed to both take and inflict huge amounts of damage, allowing the user to survive his opponents and then destroy them. They had to cut on the acceleration and cornering to make it work, though.
In gameplay terms, the SNES version has the best damage absorption of any car, and has surprisingly good cornering, but it can't keep up with the speeds of the Fire Stingray. For F-Zero X, they quantified it with the stats of A body, B boost, and C grip, which plays out to a good car once you've gotten a little experience under your belt to deal with that handling. When GX took the Wild Goose, it naturally changed the stats so they didn't match listed ones, as it basically always does for some reason. The GX version is still built like a tank, able to survive a huge amount of damage like it was nothing, but the boost... hoo boy, the boost is Not Good. Good top speed is the key to winning with it, because spamming boost won't do many wonders. Worth mentioning is the odd unique handling system for the Wild Goose - how much the car turns actually depends on how fast you move the control stick. A gradual push to the right will cause a slow, wide turn, while slamming it to the right causes the Wild Goose to skid and turn 75 degrees immediately, to a degree that wouldn't happen with a gradual tilt. It's one of those machines that makes you wonder how many weird unique gimmicks F-Zero GX included, but if you can get the hang of it, you've got a machine that can handle some very interesting corners!
GP Legend series
Pico makes a couple appearances in the F-Zero: GP Legend anime, almost all of them as a hitman for hire. The first one comes before we even learn who he is! In Episode 10, the race of the day involving Draq and Roger Buster is interrupted by Pico - hired by Zoda - turning the race into Speed. In more detail, the evil plan of the day involves planting speed-activated bombs on everyone's cars, which Pico does by simply lining up some impressive long-distance sniper shots and landing them all! Except for Captain Falcon, who figured out what was happening in time to dodge Pico and go off to solve the problem. Pico doesn't get much screentime this episode, simply showing up to deliver the initial sniping, and making a comment when he leaves at the end. He doesn't even get namedropped! Don't worry, episode 15 will fix that - it's even called Sniper Pico. In this one, we start with a mysterious stranger parking outside a warehouse at the dorks, and entering to find Octoman and Bio Rex playing cards. When Octoman and Bio Rex both try to get him to back off, he pulls some spaghetti western gunslinger tricks to disable both of them, at which point Zoda arrives and explains to both his goons and the audience that this is Pico the sniper, here to help them out... by assassinating John Tanaka, the boss of the Mobile Task Force!
With Tanaka as the comic relief of the Mobile Task Force, you can tell that things are going to go sideways for Pico. Though admittedly, his first attempt is pretty effective - dress up as a deliveryman, bring a package containing a time bomb to the director, and watch him go kaboom! That is, until some innocuous comments Tanaka makes convince Pico that he's onto him, and the hitman drops the package and runs. He dives out the window, while the bomb gets thrown out another window, and hijacks a car for a high-speed chase with Rick Wheeler. Shooting at Rick to slow him down allows Pico to escape, and he returns later to set up a sniper assassination on Tanaka... only for Tanaka to point out the window and convince Pico he's been found out a second time, causing him to call that off. His next method is to pick Tanaka up in a cab, after the director escapes from the Mobile Task Force's protection to attend a concert at a cruise ship. Naturally, this is the same cruise ship where Zoda's plan is going on, and Pico is convinced the director knows everything already. Taking him to the cruise line without risking any more attempts in the cab, he sets up and attempts to snipe the director, but fails to find him in the crowd of guests and reports to Zoda that Tanaka may be the greatest threat to their plan out there. He even knows all about it!
Following Pico's advice, Tanaka gets captured by Octoman, and the sniper and Zoda try to force some information out of him. He knows nothing, and before they can just finish the job, the rest of the Mobile Task Force shows up, successfully chasing off Pico, Zoda, and the rest. With that done, Pico's only major focus episode is brought to a close, but he does have two more minor appearances in store. Much later in episode 39, Dark Million hires Pico again, this time to fire a single, very important bullet. Pico successfully snipes a statue of Tanaka's boss, planting the Liquid Metal Blood Falcon into the headquarters of the Mobile Task Force. Pico's only remaining cameo appearance, the very next episode, actually has him race rather than snipe for a change! In that episode, where Mr. EAD claims first in the race of the day, Pico is one of the two to swoop in and KO the Dark Million duo, claiming second place in his Wild Goose.
Onto the anime-based games. While he's the least significant member of Dark Million in the games by far, some traditions override anime important, and to that end Pico is one of the five starting characters in both F-Zero GP Legend and F-Zero Climax, alongside the other three SNES originals and Rick Wheeler. If you want to go evil from the start in those games, Pico is your one choice! He doesn't even make appearances in the GP Legend story mode, solely getting his starting roster position out of legacy character status. F-Zero Climax confirms that he's still an ex-soldier and his machine is still ex-military as well, as well as confirming that Pico's job order is reversed in the anime timeline from the main timeline. In the main games, he's a racer with a side job as a hitman; in the anime he's a hitman with a hobby of racing. Explains why we almost never see him actually race.
Other Information
As one of the original four characters in F-Zero, it should come as no surprise that we get to see plenty of Pico in Super Smash Bros... though it may be a surprise that he doesn't get any acknowledgement in Melee, that game only having trophies for Falcon, Goroh, Stewart, and Jody. Brawl goes ahead and gives him a trophy proper, and both Wii U and 3DS keep a Pico trophy - the 3DS game even includes a trophy for the SNES version of the Wild Goose, like it does for the other three SNES cars. Finally, Super Smash Bros Ultimate makes him more relevant than most F-Zero spirits in World of Light. There, as you explore, you'll find Pico's Wild Goose parked at the end of a racetrack area, locking you out of that section. One must go elsewhere and defeat Pico in a spirit battle, claiming his spirit, in order to come back and actually drive the Wild Goose around. Unsurprisingly, the raceway blocked by the F-Zero machine contains the fight to free Captain Falcon and have him join the team of heroes in the World of Light.
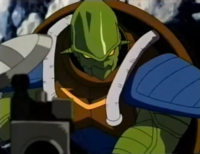
The spirit battle itself is against fellow turtle Bowser, who's gotten a green makeover to match Pico's looks, and obtained a ray gun to match his wild shooting style we've seen a few times. The ray gun is even souped up to make it a more dangerous weapon, fitting for the professional hitman! Once obtained, Pico's spirit, unsurprisingly, boosts your speed when a primary spirit. It's an F-Zero spirit, did you expect anything else? Anyhow, that about covers everything I wanted to say about the third of the four original drivers. November's issue is going to need a subject, so head to the thread and pick who it is!
Pokédex Power
Hello everyone, it's me, Yoshi876 again with a new edition of Pokédex Power, the section written by the person who has got more opinions on new Pokémon stuff since the last edition of this section. This time we have a new Galarian Pokémon and an evolution. I love evolutions with Pokémon from previous games so Sirfetch'd is a good announcement. It helps that the design is quite good, and smug. And the final one is the Galarian Ponyta, which looks adorable and fluffy and fulfils all my Pokémon unicorn dreams, at least until we see Galarian Rapidash.
However, we're still not looking at Generation VIII Pokémon for the time being, and instead we're going spooky for October, and I've also gone for a big fan-favourite: Mimikyu. Although Togedemaru is the Pikachu clone for Generation VII, Mimikyu is also a Pikachu clone in almost every sense of the word, as the Pokémon seeks to be a Pikachu, something we'll discuss later.
I haven't played much of Pokémon Moon so I haven't yet encountered a Mimikyu, but as it well-known within this community, I am absolutely in love with Ghost-types, so I'm sure Mimikyu will factor in somewhere on my team at some point. However, Mimikyu only has the one set of Pokédex entries, but are they good, well let's find out!
Generation VII – Disguised Form
| Pokémon Sun | Its actual appearance is unknown. A scholar who saw what was under its rag was overwhelmed by terror and died from shock. |
| Pokémon Moon | A lonely Pokémon, it conceals its terrifying appearance beneath an old rag so it can get closer to people and other Pokémon. |
| Pokémon Ultra Sun | Although it's a quiet, lonely Pokémon, if you try to look at what's under its rag, it will become agitated and resist violently. |
| Pokémon Ultra Moon | A gust of wind revealed what hides under this Pokémon's rag to a passing Trainer, who went home and died painfully that very night. |
Generation VII – Busted Form
| Pokémon Sun | After going to all the effort of disguising itself, its neck was broken. Whatever is inside is probably unharmed, but it's still feeling sad. |
| Pokémon Moon | If its neck is broken or its rag torn during an attack, it works through the night to patch it. |
| Pokémon Ultra Sun | It stands in front of a mirror, trying to fix its broken neck as if its life depended on it. It has a hard time getting it right, so it's crying inside. |
| Pokémon Ultra Moon | Sad that its true identity may be exposed, Mimikyu will mercilessly seek revenge on any opponent that breaks its neck. |
We actually have two different set of Pokédex entries here, one for the fully disguised version and another for the broken necked version. We'll start off with the disguised version, and those entries are quite intriguing. Obviously, with Mimikyu wearing a disguise, everyone wants to know what's underneath it, and now Nintendo don't have to reveal it, because as a scholar and passing Trainer learnt, you die if you see it. The scholar died immediately, while the Trainer died later that night, so I wonder why the different timeframe. Perhaps it's because the scholar intentionally looked, which the Ultra Sun entry lends some credence to, while the Trainer did so accidentally, but it would be good to know why the death took longer for the Trainer. But despite some spooky entries, there is some heart-warming moments as we learn that Mimikyu wants what we all want, which is to fit in. And although other sources have said it picked Pikachu because of its popularity, it would've been nice to have a reason for the Pikachu costume.
Moving onto the Busted Form we move from heart-warming to heart-wrenching, with Mimikyu crying because of its busted disguise. What's the most tear-jerking is the Ultra Sun entry which seems to imply that Mimikyu struggles with repairing its disguise, which makes it cry. Maybe I won't train against them when I'm training my Pokémon to avoid its heartbreak… Especially given that Ultra Moon states that it'll seek out my Pokémon, and nothing will touch my Rowlet.
Conclusion Mimikyu has some great Pokédex entries. Although it'd be nice to know what's underneath its disguise, the creepy lore that surrounds it is intriguing enough. Of course, it would be great to see the Pokédex make some reference to why it disguises itself as a Pikachu, and whether it takes after any other popular Pokémon like Jigglypuff or Eevee. It's also interesting that the Pokédex differentiates between its fully disguised form and its broken-necked form. Ghost-types always have a mystery surrounding them, and I honestly don't know what else I'd be looking for from Mimikyu in terms of Pokédex entries. Seems like Nintendo got them right the first time.
The Anatomy of a Kirby
Written by: ArchagentEverlasting (talk)
Hello, dear reader! I return yet again, this time to discuss another bewildering part of Kirby's anatomy. Today we're going to be talking about a part of his digestive system: That being, the ability bubbles!
Ability bubbles are stored in Kirby's Copy Palette, the place where everything he eats goes. When an ability is released from the bubble, he will acquire it, and if there is no ability to be acquired, he will spit it out.
If two bubbles are mixed, it will produce a random copy ability from the mixture of the two bubbles. However, once Kirby has read the knowledge of how to mix Sword with any elemental ability, he can instead mix them to imbue the sword with that element. This can also be said for Bomb, however Bomb does not work with Fire. Another mixture that can be created is between two Sleep abilities to make the Ghost ability, though Kirby only learned to do this after he had found all of the Ghost Medals.
One ability that Kirby can acquire is called the Bubble ability, and it allows him to turn his enemies into bubbles to store in his Copy Palette. When an enemy without a Copy Ability is turned into a Bubble, it will become what is known as a Star Bubble, and become a set of Stars for Kirby to spit out as ammunition. This is likely due to the fact that they lack a Copy Essence for Kirby's body to recognize. These can be mixed together to make a massive Star as opposed to a singular one.
I believe that while this is an often overlooked part of Kirby's history (due to the knowledge of this piece of his biology only being highlighted and explored during his War against the Squeak Squad) I think that it is still a notable aspect of it for sure. Still, my apologies for the rather short issue this month. Next month, we're going to be talking about Copy Ability Scrolls, something that gives Kirby more knowledge and ultimately allows him to perform his Copy Abilities even greater.
| The 'Shroom: Issue 151 | |
|---|---|
| Staff sections | Staff Notes • The 'Shroom Spotlight |
| Features | Fake News • Fun Stuff • Palette Swap • Pipe Plaza • Critic Corner • Strategy Wing |
| Specials | AlphaDream Retrospective |


